Cards, wallets, and bank debits
Stripe Checkout offers what you enable in Stripe, including ACH bank debits. ACH gifts stay pending until the bank confirms.
Donors give on Stripe’s hosted checkout. Your finance team records checks and cash. Every donor gets a printable annual giving statement, and card or bank details never touch your database.
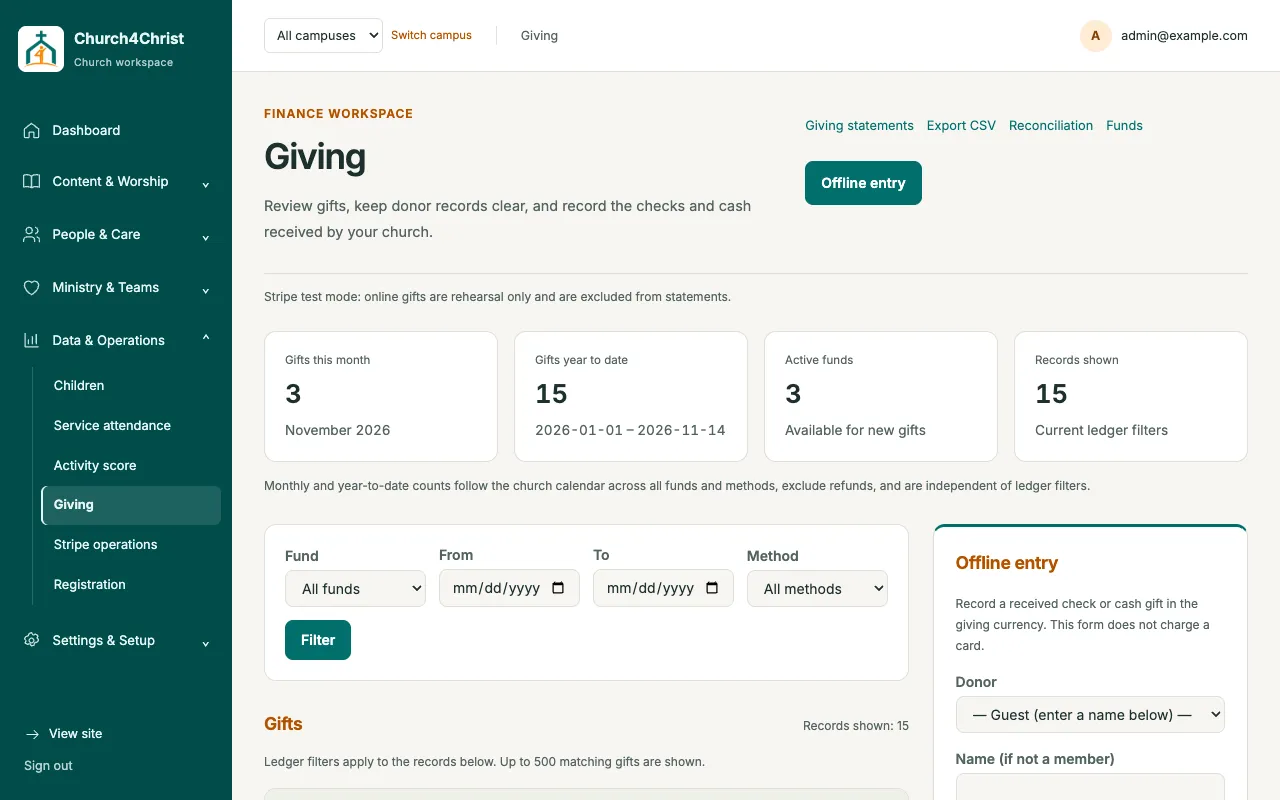
Stripe Checkout offers what you enable in Stripe, including ACH bank debits. ACH gifts stay pending until the bank confirms.
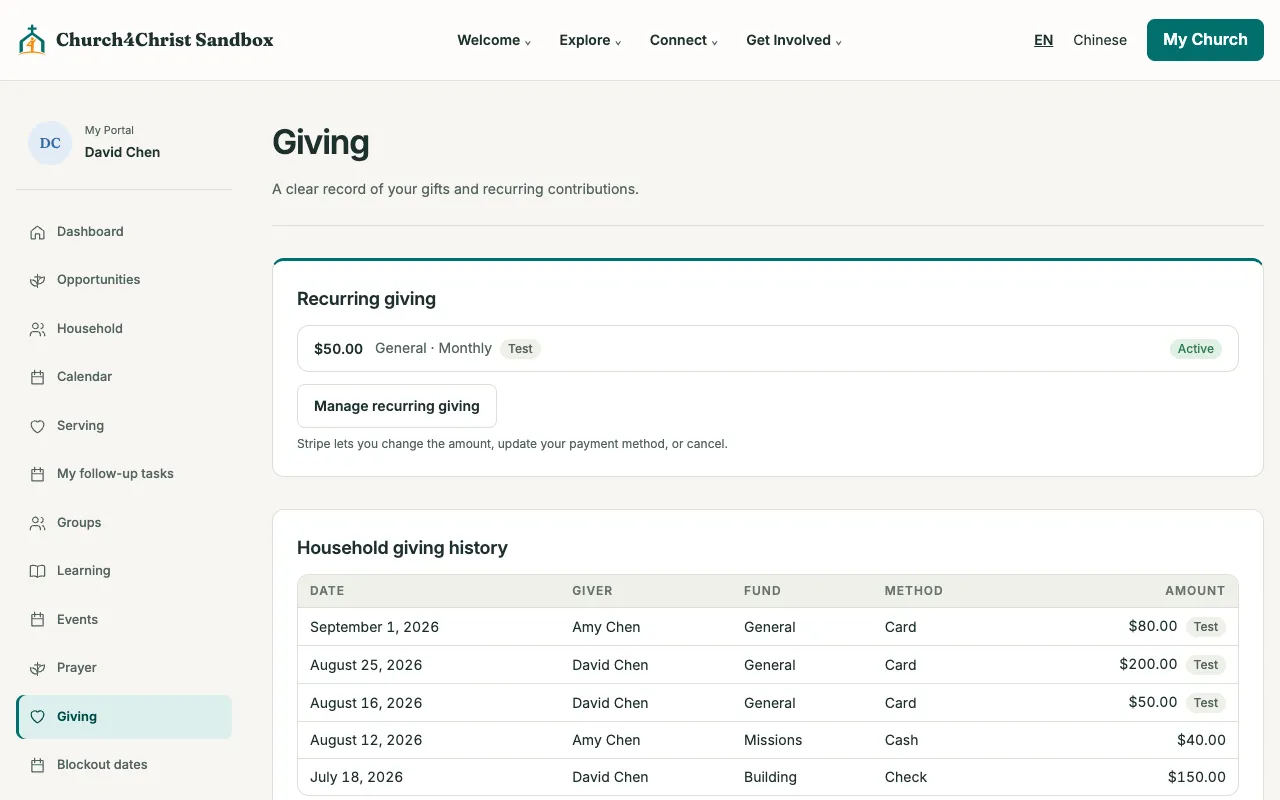
Guests can give once. Signed-in members can give weekly, monthly, or yearly, and change or cancel in Stripe’s Billing Portal.
A printable statement per donor per year, counting only live, tax-deductible gifts net of refunds. One action emails every donor a link.
Record offline gifts with check number and date received. Every manual entry writes an audit row.
General, Missions, Building, and more, named in English and Chinese, with default and tax-deductible flags.
Giving admin is open to admins or people with the finance flag, so a treasurer can work without full site access. Givers only see their own household.
My giving shows the household’s gift history with pending, refunded, and disputed gifts labeled, recurring gifts with a Manage button, year totals, and a link to each year’s statement.
Signed Stripe events update the ledger: refunds are netted out, disputes are excluded, and failed recurring payments are marked past due. Totals are per fund and per currency, and the filtered ledger exports to CSV.
Most of the work happens once in Stripe’s own dashboard. Church4Christ’s installer then imports the two values it needs. Follow Stripe’s official pages:
You can explore test mode right away, before giving Stripe any business details.
Enter your organization’s legal name, EIN or other tax number, address, a representative, and the bank account that receives donations.
Stripe offers lower processing fees to registered nonprofits in supported countries whose Stripe volume is at least 80% tax-deductible donations. You request it from Stripe support.
Stripe emails each receipt, and donors use the customer portal to change or cancel recurring gifts.
Lower-fee bank payments for larger gifts. Checkout offers ACH automatically once it is enabled.
Copy an API key, add one webhook endpoint, and give both to the installer. Rehearse with test cards, then follow the go-live checklist.
Stripe’s eligibility rules and fees can change, so confirm current terms on Stripe’s pages. Stripe’s own overview: How to accept donations through Stripe.
Open the demo church in your browser, then read the setup guide when you are ready.